How to repair 18650 battery pack – This comprehensive guide provides you with step-by-step instructions, detailed diagnostic procedures, and essential safety precautions for repairing your 18650 battery pack. The 18650 battery repair process can be both challenging and rewarding when done correctly. Below, you’ll find an extended section on Fault Types and Diagnostic Steps to help you accurately identify and fix common issues.
Introduction to 18650 Batteries and Battery Packs
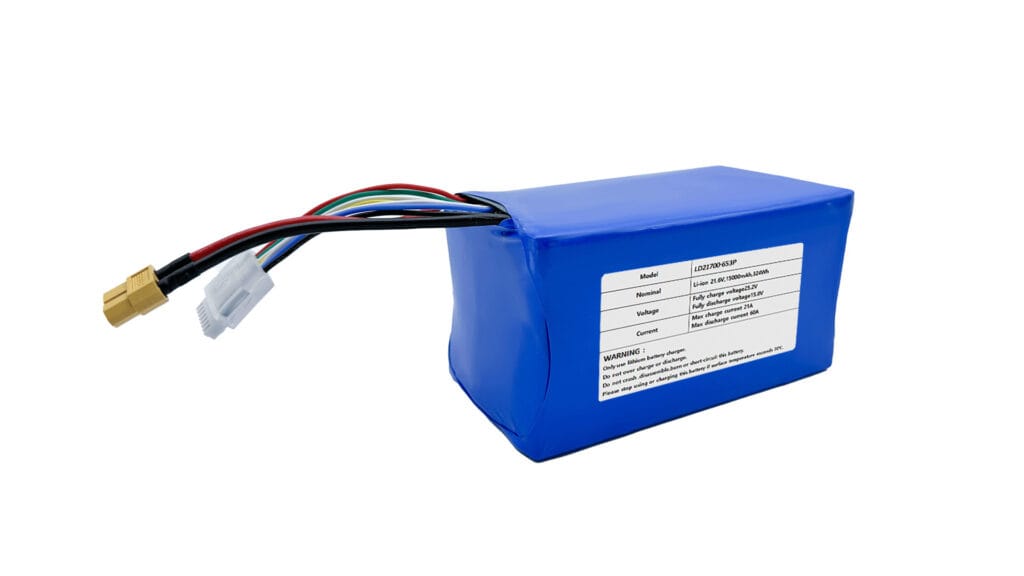
The 18650 battery is a cylindrical lithium-ion cell widely used in devices like laptops, power tools, and electric vehicles. Named for its dimensions (18mm diameter x 65mm length), it offers high energy density, rechargeability, and durability. An 18650 battery pack combines multiple cells in series or parallel to meet voltage and capacity requirements. While these packs are robust, they can degrade over time due to factors like overcharging, physical damage, or improper storage.
Pre-Repair Risk Assessment
Before attempting any repair, it is crucial to understand and evaluate the inherent risks. Improper handling of lithium-ion batteries can lead to fire, explosions, or chemical leaks. Therefore, you must:
- Assess the battery’s condition: Look for any signs of swelling, leakage, or physical damage.
- Understand potential hazards: Damaged cells may have internal short circuits, which can lead to dangerous overheating.
- Implement safety measures: Always wear protective gear (gloves, goggles) and work in a well-ventilated area away from flammable material
Tools Preparation
Proper tools are essential for an effective and safe battery repair process. Before starting, ensure you have the following:
- Multimeter: To measure voltage and check for cell imbalances.
- Battery spot welder: For connecting cells safely without excessive heat exposure.
- Soldering iron: For minor repairs and reattaching connections (ensure low heat to avoid battery damage).
- Battery holders and insulation materials: To secure cells during assembly.
- Protective gear: Such as gloves and safety goggles to safeguard against accidental short circuits or leaks.
Fault Types and Diagnostic Steps
When diagnosing issues in an 18650 battery pack, it is crucial to understand that multiple fault types may coexist. In this section, we detail common fault types and provide a comprehensive set of diagnostic steps to accurately identify and address these issues.
Fault Types
-
Overcharging/Undercharging Imbalance: Occurs when individual cells receive inconsistent charge levels due to a faulty charger or a malfunctioning battery management system (BMS). Over time, this can lead to reduced capacity or premature failure of certain cells.
-
Internal Short Circuits: Result from damaged separators or impurities within the cell, causing the cell to short internally. This fault poses significant safety risks, including overheating and fire.
-
Capacity Degradation: Over many charge/discharge cycles, cells naturally lose capacity. Degradation can also accelerate due to factors like deep discharges, high temperatures, or manufacturing defects.
-
Physical Damage: Visible signs such as swelling, dents, punctures, or casing deformation indicate that the cell may have suffered mechanical stress or impact. Physical damage often compromises cell integrity and safety.
-
Thermal Runaway Risks: Abnormal heating or hotspots during operation may signal that a cell is nearing thermal runaway—a dangerous condition where temperature increases uncontrollably.
-
Connection and Soldering Faults: Issues with solder joints, spot welds, or terminal corrosion can lead to intermittent connectivity or complete circuit failure, impacting overall battery performance.
-
Battery Management System (BMS) Errors: For packs equipped with a BMS, error codes or alerts may indicate cell imbalances, over-temperature, or other internal faults that require attention.
Comprehensive Diagnostic Steps
Visual Inspection
- Examine Each Cell: Look for physical deformities such as swelling, leaks, cracks, discoloration, or any signs of chemical residue.
- Inspect Connections: Check solder joints, spot welds, and terminal connections for signs of corrosion, loose connections, or damage.
Voltage Measurement
- Individual Cell Testing: Use a multimeter to measure the voltage of each cell individually. Healthy 18650 cells typically measure around 3.6V–3.7V. Cells with significant deviations could be failing or imbalanced.
- Comparative Analysis: Compare voltages across all cells to identify those that are underperforming.
Impedance Testing
-
- Internal Resistance: Measure the internal resistance of each cell using specialized impedance testers. An elevated resistance is a strong indicator of cell degradation.
Load Testing
-
- Controlled Load Application: Apply a known load to the battery pack and observe the voltage drop over time. Cells that exhibit a rapid voltage drop under load may be deteriorated or faulty.
- Performance Monitoring: Compare the discharge rates of each cell to pinpoint inconsistencies.
Thermal Monitoring
-
- Temperature Checks: During both charging and discharging cycles, monitor cell temperatures using an infrared thermometer or thermal imaging camera.
- Hotspot Detection: Identify any cells that heat up significantly more than others, as this may indicate internal shorts or imminent failure.
BMS Diagnostic Check
-
- Error Code Analysis: For battery packs with an integrated Battery Management System, review any diagnostic codes or alerts provided by the system.
- Built-in Diagnostics: Utilize the BMS’s built-in diagnostic tools (if available) to determine which cells are underperforming or at risk.
Cycling Test
-
- Full Charge/Discharge Cycle: Conduct a complete cycle while logging voltage, current, and temperature data.
- Performance Curve: Analyze the performance curve of each cell during the cycle to detect anomalies that may indicate degradation or imbalance.
Comparative Analysis and Final Diagnosis
-
- Data Correlation: Cross-reference findings from visual, electrical, impedance, thermal, and cycling tests to form a complete picture of the battery pack’s health.
- Decision Making: Determine whether cells need rebalancing, repair, or complete replacement based on consistent diagnostic data.
How to Repair 18650 Battery Pack?
Step 1: Disassemble the Battery Pack
- Carefully open the battery pack casing.
- Document the layout of cells to ensure correct reassembly.
Step 2: Identify and Isolate Faulty Cells
- Use diagnostic tools to test each cell.
- Remove or isolate cells that show significant voltage drop, swelling, or leakage.
Step 3: Replace or Repair Faulty Components
- Replace faulty cells with new ones if available.
- In some cases, rebalancing the cells by equalizing their charge levels may suffice.
Step 4: Reassemble the Battery Pack
- Use a battery spot welder or soldering iron to rejoin cells.
- Ensure all connections are secure and insulated to prevent short circuits.
Step 5: Test the Repaired Pack
- Perform a full charge and discharge cycle while monitoring performance.
- Use your multimeter and thermal tools to ensure the pack operates within safe parameters.
Maintenance and Precautions
After repairing the battery pack, ongoing maintenance is crucial for safety and longevity:
- Regular Inspection: Periodically check for signs of wear, imbalance, or physical damage.
- Proper Storage: Store batteries in a cool, dry place away from direct sunlight.
- Charge/Discharge Cycles: Avoid deep discharges and overcharging; use a proper charger designed for lithium-ion batteries.
- Temperature Monitoring: Ensure batteries operate within recommended temperature ranges during use.
Alternative Solutions and Scrap Handling
If repair efforts prove too risky or ineffective, consider the following alternatives:
- Professional Repair Services: When in doubt, consult professionals who specialize in 18650 battery pack repair.
- Battery Replacement: Sometimes replacing the entire pack is safer and more cost-effective.
- Recycling and Disposal: Never dispose of lithium-ion batteries in regular trash. Use certified facilities like Call2Recycle. Check local regulations for battery disposal guidelines.
Frequently Asked Questions (FAQs)
Q1: What are the most common issues with 18650 battery packs?
A: Common issues include cell imbalance, overcharging/undercharging, internal short circuits, and capacity degradation. Regular diagnostics and maintenance can help prevent these problems.
Q2: Is it safe to repair an 18650 battery pack on my own?
A: While DIY battery repair is possible, it carries inherent risks. Ensure you have the proper tools, knowledge, and safety precautions in place before attempting any repairs.
Q3: What tools do I need for repairing an 18650 battery pack?
A: Essential tools include a multimeter, battery spot welder, soldering iron, battery holders, and protective gear. These tools help diagnose and fix issues accurately.
Q4: How can I tell if a cell in my battery pack is faulty?
A: Faulty cells may show a significant voltage drop, physical damage (such as swelling or leakage), or unusual temperature increases during operation. Regular testing can help detect these signs early.
Q5: What should I do with old or damaged 18650 batteries?
A: Old or damaged batteries should be taken to certified recycling centers. Proper disposal prevents environmental hazards and complies with local regulations.